How to Take Good Pictures When Traveling
Traveling and taking photos go hand in hand.
Whether you’re wandering through ancient ruins, relaxing on pristine beaches, or exploring bustling city streets, capturing those moments in stunning photos is a must. But how can you ensure your travel photos are top-notch?
With a few handy tips and some practice, you’ll be snapping like a pro in no time.
Let’s dive into the world of travel photography and learn how to take good pictures when traveling!
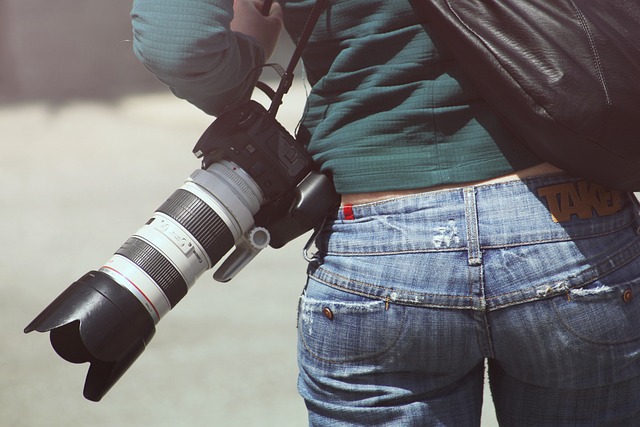
Essential Gear for Travel Photography
Camera Options
First things first, you need to choose the right camera. While smartphones have come a long way and can take incredible photos, a dedicated camera can offer more control and higher quality. Here’s a quick rundown of options:
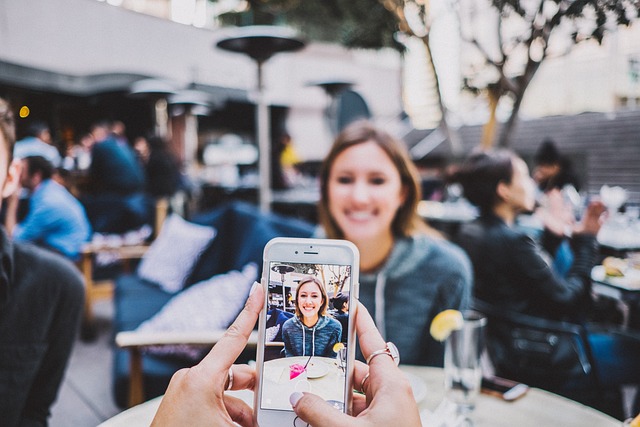
- Smartphones: Perfect for quick shots and convenience. Many modern smartphones have advanced camera systems that rival traditional cameras.
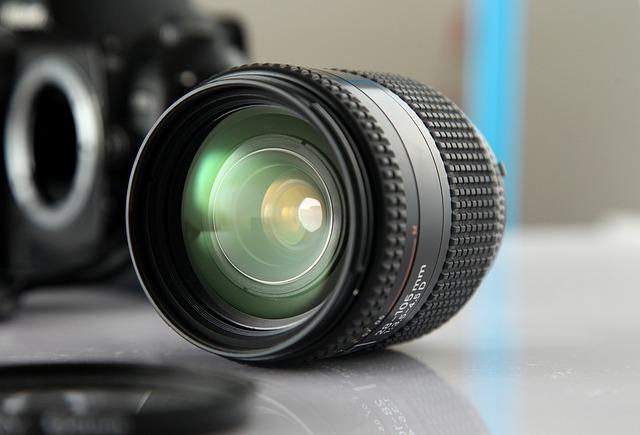
- DSLRs: These are great for serious photographers who want maximum control over their shots. They offer interchangeable lenses and full manual settings.
- Mirrorless Cameras: These are lighter and more compact than DSLRs but still offer excellent image quality and flexibility.
- Action Cameras: Ideal for adventure travelers who need something rugged and waterproof.
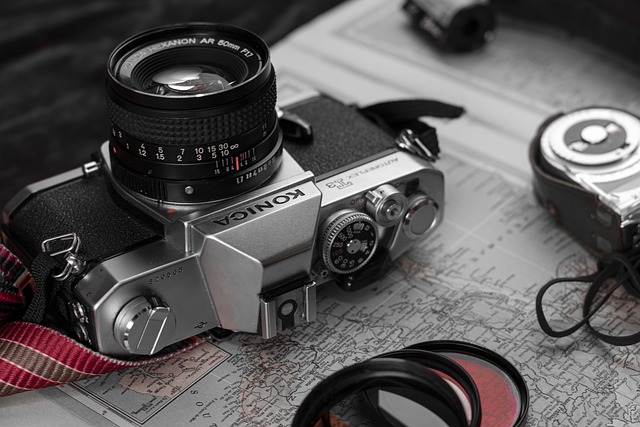
Must-Have Accessories
To take your travel photography to the next level, consider packing a few essential accessories:
- Extra Batteries and Memory Cards: Always have spares on hand so you don’t run out of juice or storage space.
- Tripod: A compact, lightweight tripod can help you capture steady shots and long exposures.
- Lens Filters: These can enhance your photos by reducing glare, boosting colors, or adding creative effects.
- Cleaning Kit: Keep your gear clean and dust-free to ensure clear shots.
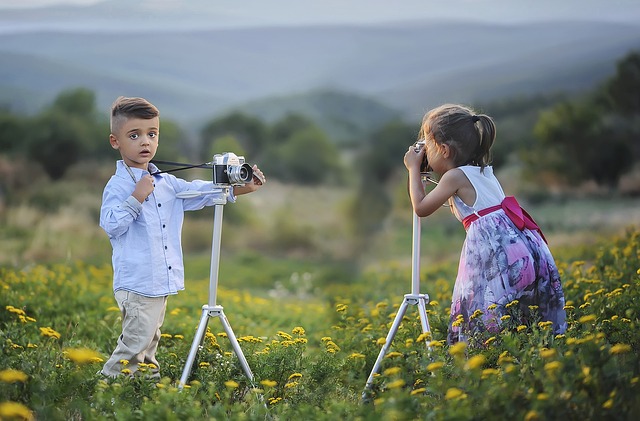
Mastering Composition
Rule of Thirds
One of the simplest yet most effective composition techniques is the rule of thirds. Imagine your frame divided into nine equal parts by two horizontal and two vertical lines. Place your subject along these lines or at their intersections to create a balanced and visually appealing photo.
Leading Lines
Use natural lines in your environment, such as roads, rivers, or pathways, to lead the viewer’s eye towards your subject. This adds depth and draws attention to the focal point of your photo.
Framing
Look for natural frames within your scene, like archways, windows, or branches, to enclose your subject. This technique adds context and focuses attention on the main subject.
Perspective and Angles
Don’t just shoot from eye level. Experiment with different perspectives and angles to add variety and interest to your photos. Get low to the ground, shoot from above, or find unique vantage points to make your shots stand out.
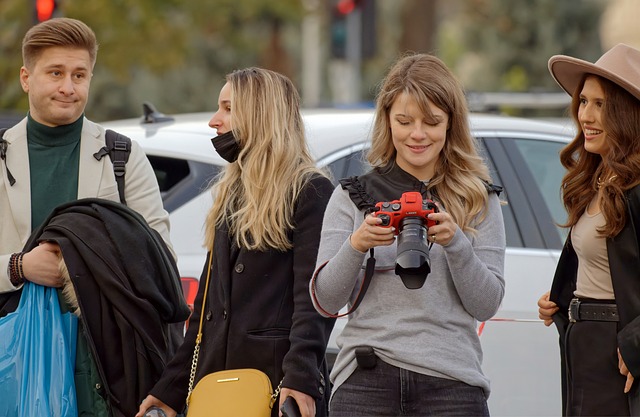
Lighting Tips
Golden Hour
The golden hour, shortly after sunrise and before sunset, offers the most flattering natural light. The soft, warm glow can make any scene look magical. Plan your shoots around these times for the best results.
Blue Hour
Just before sunrise and after sunset is the blue hour, when the sky takes on deep blue hues. This time is perfect for capturing serene, atmospheric shots.
Avoiding Harsh Light
Midday sun can create harsh shadows and washed-out colors. If you must shoot during this time, look for shaded areas or use a reflector to soften the light.
Using Artificial Light
Don’t shy away from using artificial light sources like streetlights, lamps, or even your smartphone’s flashlight to add drama and creativity to your shots, especially at night.

Capturing the Moment
Candid Shots
Some of the best travel photos are candid shots that capture genuine emotions and spontaneous moments. Keep your camera ready and be on the lookout for interesting scenes and interactions.
Portraits
When taking portraits, connect with your subject. Engage them in conversation, make them comfortable, and shoot plenty of frames to capture the perfect expression.
Landscapes
For stunning landscapes, pay attention to the foreground, midground, and background. Include elements in each to create depth and a sense of scale.
Action Shots
If you’re capturing action, like a bustling market or an adventurous activity, use a fast shutter speed to freeze the motion or experiment with slower speeds for dynamic blur effects.
Post-Processing Magic
Editing Software
Invest in good editing software like Adobe Lightroom or Photoshop.
These tools allow you to tweak exposure, contrast, colors, and sharpness to bring out the best in your photos.
Basic Adjustments
Start with basic adjustments like cropping, straightening, and correcting exposure. Then, move on to more creative edits like enhancing colors, adding filters, or converting to black and white.
Presets and Filters
Use presets and filters to give your photos a consistent look and feel.
These can save time and help you develop your unique style.
Tips for Specific Destinations
Urban Photography
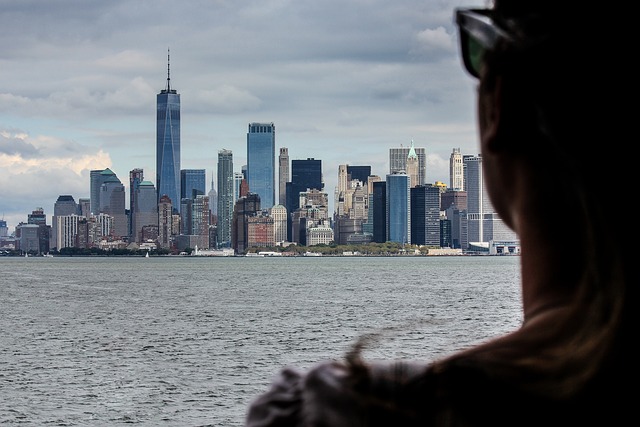
Cities offer endless opportunities for photography. Capture the architecture, street art, and daily life. Don’t forget to look up and explore narrow alleys for hidden gems.
Nature and Wildlife
When photographing nature and wildlife, be patient and respectful.
Use a zoom lens to capture animals from a distance and avoid disturbing their natural behavior.
Beaches and Oceans
For beach and ocean shots, play with reflections and capture the movement of water. Early morning and late afternoon provide the best light and fewer crowds.
FAQs
What’s the best camera for travel photography?
It depends on your needs and preferences.
Smartphones are great for convenience, DSLRs and mirrorless cameras offer higher quality and flexibility, and action cameras are perfect for adventure.
How can I improve my travel photos without buying new gear?
Focus on composition, lighting, and capturing genuine moments. Practice these skills and experiment with different techniques to see improvement.
Is it okay to edit my travel photos?
Absolutely! Editing is a big part of photography. Just ensure you’re enhancing your photos without making them look unrealistic.
How can I take good pictures in low light?
Use a tripod to stabilize your camera and avoid blurry shots. Increase your ISO setting and use slow shutter speeds to capture more light.
Conclusion
Taking good pictures when traveling is all about preparation, practice, and a keen eye for detail. With the right gear, an understanding of composition and lighting, and a bit of post-processing magic, you’ll be well on your way to capturing stunning travel photos.
So grab your camera, hit the road, and start creating memories that will last a lifetime.
Share this content:



Post Comment